















Showing posts with label Washi Workshop. Show all posts

Tuesday, December 11, 2012

Washi Workshop with Natt


Hello everyone !

Natt Smith is here with you to share a fun home decor project that you can do to make your house look brighter in this gloomy winter.

If you have been to Denver, CO you'd know that how dry it is here.
I can actually feel it as soon as I got out of the plane from Seattle on our trip back.
It even get worst in winter.
My skin, my throat, nose feel dehydrated.
As I remember since I was a young girl my mom keep telling me that you can only be young once so keep it with you as long as you can.

If you had pay attention to biology class you knew that how important water is to your body.
And also if you read some research from beauty guru out there you'd know that dry skin tend to make age wrinkles come visit you early.Oh no ! We don't want that to happen to our pretty face, right ?

So in order for me look young, I drink a lot of water and water that I think it taste good to me are Voss and Avian they are so refreshing !

Ok now what do I usually do with all the empty bottles ?

I've been throwing them away in the trash can,sad isn't it ?
But last week while I was drinking my magic water.
I thought to myself " Hmmm I should do something with this bottle "

So I grabbed these lovely washi tape and a little bit of sequins.


Then start to wrapping them on my water bottle.
Added die cut paper. 
Added sequins.

It turns out like this !


I filled my bottle with water then dropped 6-7 drop of blue food coloring color.

Use chopstick to stir it up.

And that's it !

I got a fun and recycle vase for my house.

Let's take a closer look.


Thank you so much for joining me today on my washi tape work shop.
Til next time.
xoxo
Natt

Tuesday, December 4, 2012

Washi Workshop with Adrienne

Hi, everyone!  It's Adrienne here with a festive Washi Workshop for you today!  


I was sitting in my craft room a few weeks ago looking through some supplies when I found a huge stash of binder rings that I normally use for my mini albums.  I immediately thought of using them to make festive washi wreaths for the holidays!  These wreaths are super easy to assemble and can be used for more than just ornaments.

Here's what you'll need:

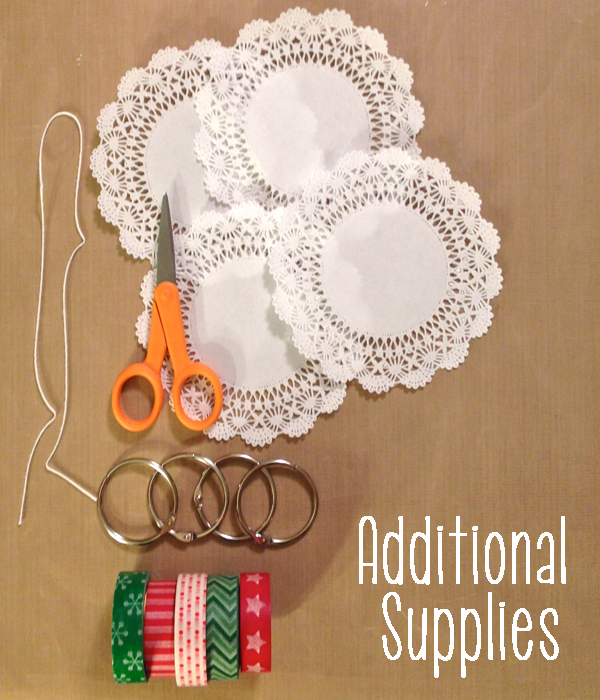
Washi Tape (of course!)  Make sure to add a few wide washi styles as well!  

You'll also need medium or large size binder rings (mine were about 1 3/4 inches wide), about 16 inches of baker's twine or ribbon, scissors, glue dots, and 5 inch doilies from Freckled Fawn.

After you round up your supplies, your ready to get started!


*I used about 4 inch long washi strips...you can always trim them down as you add your layers if needed.


*I used about 7 inches of wide washi strips and then folded them in half before adhering them to the back of the wreath with glue dots.  This also makes it easier to see where you need to add extra strips.


*I used my circle cutter to cut out the doily's center, but you could also trace a circle and cut it out with scissors.  


*I added a bit of bling to this wreath...feel free to dress up your wreath any way you wish!


Whether you like traditional or trendy seasonal colors, Freckled Fawn has TONS of beautiful washi tape to help coordinate with your holiday decor!


These wreaths would look beautiful hanging on the tree or attached to a pretty package!  You could also dress up your mantle or place in an open frame for a trendier look.  Have fun and I hope you enjoyed my little Washi Wreath Tutorial!  Happy Holidays, everyone!!!

xoxo - Adrienne

Thursday, November 29, 2012

washi workshop with melissa

December 1st is just a day away and I'm finally getting around to finishing up my Christmas Countdown.  Today I have a very simple washi workshop for you showing how you can use washi tape very easily to dress up your holiday projects.

I love the look of washi layered over vellum and glassine because of the translucent look it adds, so each of my samples today use washi combined with these elements.  

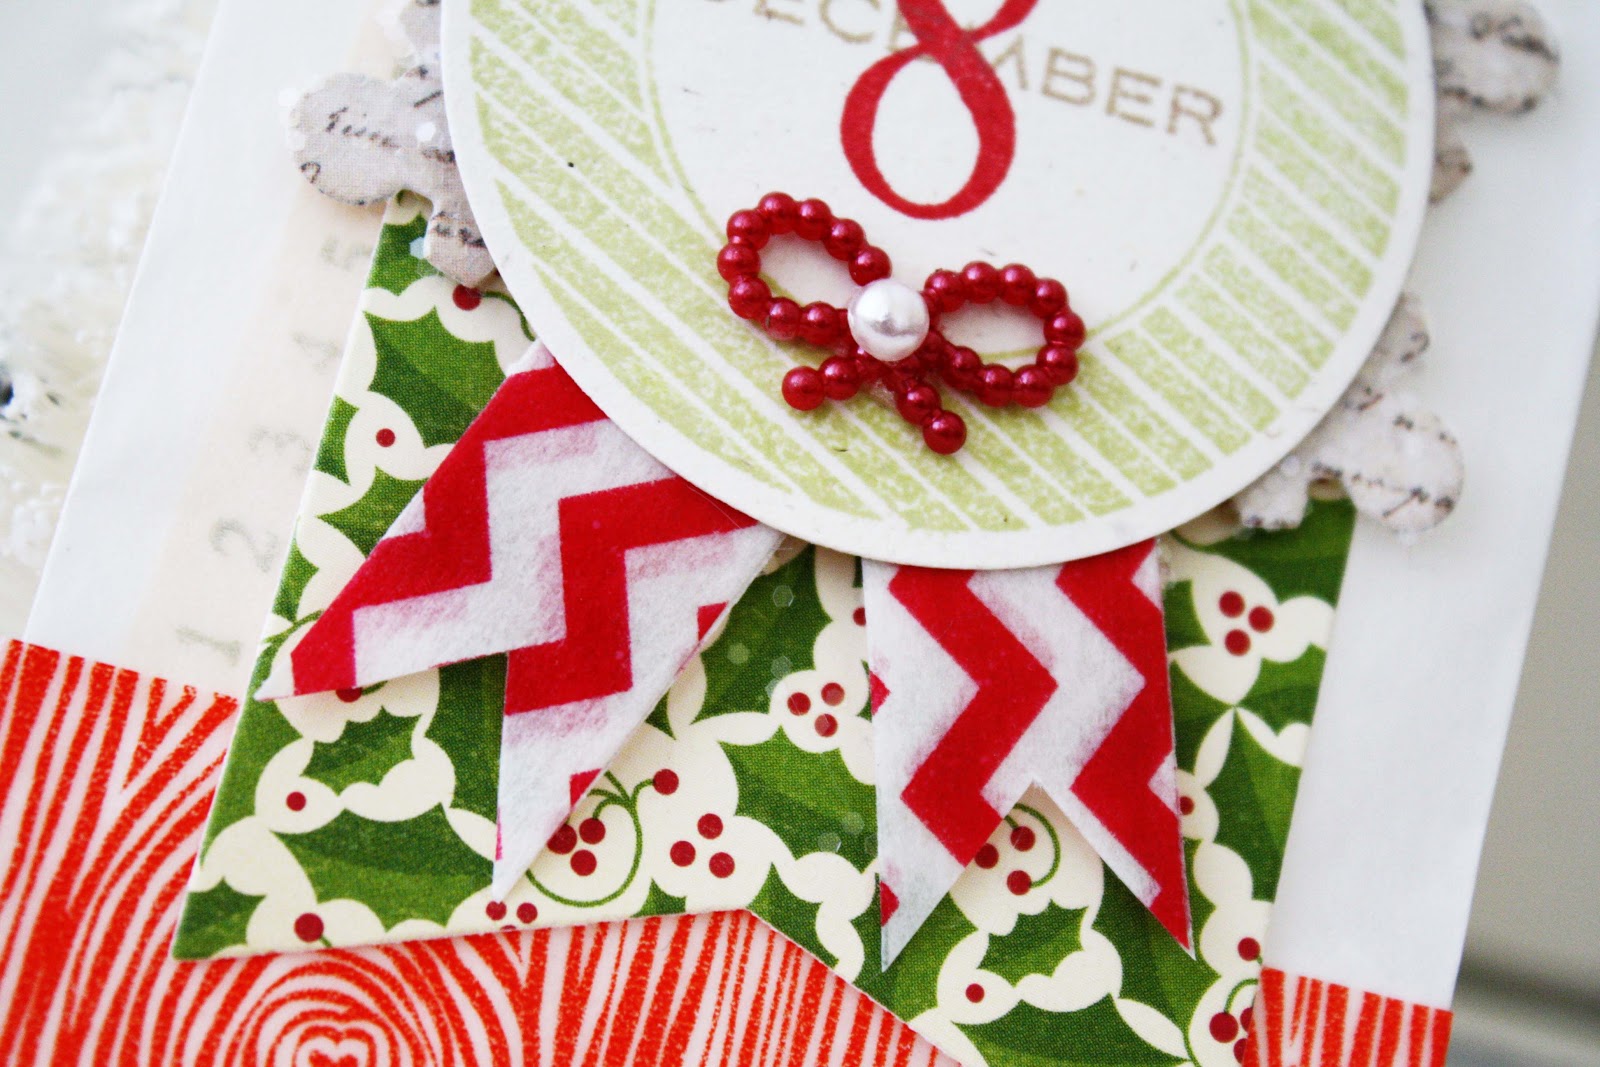
Washi is such a quick way to add character and color.  I've just layered strips of washi in different patterns and colors across the bottom of my glassine bags and in an instant, they are transformed.  I used Wide Green Washi and Pink Victorian Washi on this first bag....both so YUM!

A quick strip of Reindeer washi across this fun pink vellum envelope and you're set to go....truly the cutest washi on earth I think!

I used a strip of Red Chevron washi to secure the patterned paper around this spool...I love that washi tape can be repositioned for situations just like this.  Now the fun activity waiting to be explored on Dec. 7th can be unraveled and secured again for next year.

A quick banner created by folding Blue Picnic Table Plaid washi over a trinket pin makes the perfect embellishment.  

A bit of Freckled Fawn Woodgrain washi across the bottom of this bag and more Red Chevron...both perfect patterns for the holidays.  


Day 9 has a punch of Aqua Airmail washi layered over a green vellum tag and then another washi banner attached to a trinket pin created with Pink Picnic Table Plaid washi.


I used a variety of washi strips layered beneath a vellum layer here on this mitten tag.  I love how vellum can soften up bold colors and patterns in a hurry.  

I've still got a few more days to go until I'm done with my project, but with my handy stash of washi nearby, I will love every minute of creating!
Thanks for visiting and Happy December!
Melissa


Tuesday, November 13, 2012

A mini album

Hello ladies, it is Caz here to share my project this month and i kind of have a few pictures to share, sorry(not really). I actually made this months ago and have yet to share it and i thought here was the perfect place to do so :)  I was in LA this May and Amy Tangerine held a class just for me, and others that could make it of course but i like to think i am special ha ha. I have to say it was AMAZING, there was even a washi bar there, how cool is that especially as i am addicted to the stuff. One of things we made was this mini album,which i then filled when i got home. I used lots of washi tapes to finish the project off, it is so great for filling in spaces and adding a perfect touch of colour, no need to do anything fancy, just add it :)


I love this last page, Lucy and Gary were dropping me off at the class and she was worried i may miss her so she gave me this to look at while i was there, such a sweet girl

So there it is my AT mini and i LOVE it, such a simple mini but a fabulous keepsake for a special day

Until next time
Caz xox

Thursday, November 8, 2012

Washi Workshop with Shanna

Hi there friends! So this is going to be a different type of washi workshop today as I have December Daily on the mind! Are you thinking about doing a December Daily, or similar project? I am super excited to start mine and I have started gathering ideas on how I might go about it this year. I do best if most of the work is done before December first, so then all I really need to do is take pictures and jot down the details. This year December is a HUGE year for us! My husband is coming home from a year long deployment and my brother in law is getting married. Even though its going to be busy, I think its very important to document such a memorable month in our life! So if I have any hope of getting this done I need to pre-plan! Even though I bought the Studio Calico December Daily kit, I still wanted to plan out exactly how I was going to go about doing all this! So when my kit arrives I can make the base pages and be ready to go!


I am wanting to use a matchbox style page (I found a cut I need to customize on the cameo software) for each day, as you open it there will be a spot for a picture attached with washi tape and a pocket to tuck all the goodies I come across in. I also want to include notes from the girls in there as well. 

For the cover I want to create a very graphic logo for each day of the month. I don't know exactly how I will create this yet but I love these from Shalin Studio. (so cute, right?!)

As I have mentioned before that I adore using washi tape in my mini's!!! I wanted to link you up to some I plan on using in my December Daily! 


I am sorry but I am 100% in love with these reindeer!


Wide Gold Airmail, enough said! :) 


Red Polka Dots! Hello, I love you!


Another thing I find super important to complete my December Daily is a small home photo printer. There are so many amazing ones out there. I happen to like the Canon Selphy, I LOVE the size (I even travel with it!) I love that the paper and ink are sold together but mostly I love that I can print JUST the photo I need in the moment I need it!

So what are you doing to prepare for your December crafts? If it's the December Daily, card making, present wrapping.... I would love to hear all about it! I hope we have inspired you today to get yourself in gear to create everything you desire for the season! 

Talk to you soon!


Some of the graphics use to create the December Daily Game Plan 
are from Karah Fredricks and Emily Merritt, two AMAZING designers 
you should check out if you have not done so already!


Tuesday, October 23, 2012

Washi Workshop with Adrienne

Hello, friends!  I'm here today with a tutorial on how to dress up that old iPhone case!

If you're like me, then you probably have a few old iPhone cases taking up space in a drawer somewhere.  Most are too expensive to just throw away, so I figured why not revamp those old cases using some WASHI TAPE!


Here's what you'll need:

X-ACTO or craft knife
self-healing or glass mat
washi tape
old phone case (I have an iPhone 4s, but any flat case for any type of phone would work :)

Alright, this is super easy and really quite fun, so let's do it!

Step 1:  Grab some washi tape!  I chose the wide style because it covered up my original case a bit better then the narrower tapes.  When choosing your tapes, be aware of your case color or design and how much of it you want to show through.  

Step 2:  Cover your case with washi tape.  I started at the top of my case and worked my way down, overlapping each strip just a little bit.  The graph washi worked great because it was easy to line up each strip!  


After I placed each strip of washi on the back of the case, I turned it over and cut the extra washi with my craft knife.  You'll want to take your time doing this and make sure you leave a little extra washi to cover the sides of the case.


I left the rounded corners on my case exposed because it was easier to fold the washi tape over the sides of the case without having to worry about the corners.  I also cut out the camera hole using my craft knife. 

Here's what it should look like at this point...


Step 3:  Notch a strip in the washi tape where the side of the case starts to change in height.  Then just fold over the two pieces of washi tape.  


Here's a look at the inside of the case...it doesn't have to be pretty because your phone will be covering it up!


 And here's a look at the the rounded corners...now all you have to do is cut away the excess washi.


Step 4:  Have some fun and layer some more washi tape on top!  I added some Gold Airmail, Basic Metallic, Color Polka Dot on White, and Red Argyle washi to the green graph washi for a little holiday flair!  And when the holidays are over, I can start all over again with some different washi tapes and designs!  The possibilities are endless and now I don't have to buy any more overpriced iPhone cases :)

I had another case lying around so I used some Wide Woodgrain Washi and some Glass Tape Days of the Week deco tape to dress it up!  


I hope you enjoyed my little tutorial on how to revamp an old iPhone case.  You could also use these steps to dress up your iPod cases or any other case you might have that needs a little something special!  Now go get some washi tape and start covering something up :)


Until next time....xoxo - Adrienne
 

blogger templates | Make Money Online