


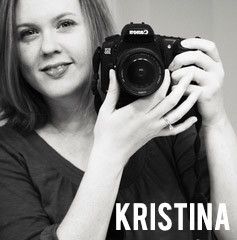


This is my current favorite photo of myself. Anyone for Red lipstick??? Anyone?

I love leaving the edges of things loose on my pages to add dimension.

Originally, I was just going to use the cut out numbers, but after cutting them, I realized I liked all of the Washi paper I'd created and wanted to use it ALL! So, I simply used some foam dots to raise my numbers up off the page so they'd be seen.


I'm going to share a quick tutorial with you today on how to cut Washi tape shapes using a die cutting machine such as a Silhouette.
This is super simple! First, you choose the tapes you'd like to use. For this project, I used rainbow colors cause I happen to have a thing for rainbows. In the sample I'm showing, I was using a predominately yellow color scheme.
You start with a sheet of copy paper. Decide how much you need to cover to fit the design you'd like to cut or punch out. Allow yourself some extra room for margin.
Now, simply lay down strips of tape on the paper in the order you'd like them to be. The most important thing is that you stick them down smoothly so there are no wrinkles. Feel free to overlap a bit so the transparency shows itself.

To get a super smooth piece, use a brayer to roll out any air bubbles. Once that is complete, you can trim your new 'paper' to the size you need it to be.

Finally, either punch shapes out of your Washi paper or run it through your Silhouette.
I do not recommend trying to cut shapes that are extremely intricate with washi tape as the rubber quality of the tape can cause a problem, however, simple shapes cut beautifully. I use a cardstock setting and a blade depth of 4 on mine and I do a double cut to ensure my shape comes out.
Now you try! And let us know what you come up with!
Lovely layout! I have to try that technique with my Sizzix.
ReplyDeleteHolly Cow Batman this layout is SUPER AMAZING!!!!!
ReplyDeleteSo amazing! TFS!
ReplyDelete