


Happy Friday, FF Fans!!! Today I am sharing a quick and easy way to create a stencil using heavy cardstock, a few punches, stipple brushes (or cosmetic wedges) and ink pads.

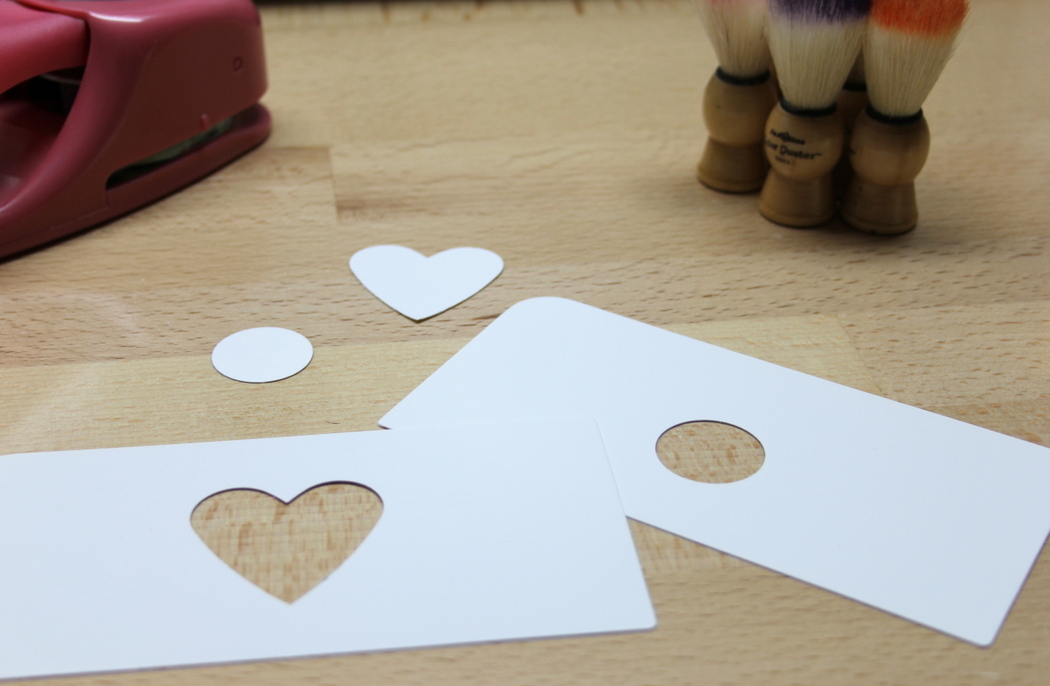
Punch out your image on the heavy cardstock...
I grabbed a piece of paper to put behind my project so my table didn't get all inky! On top of the paper, I have a white tag and then on top of my tag, I placed the heart stencil that I created.
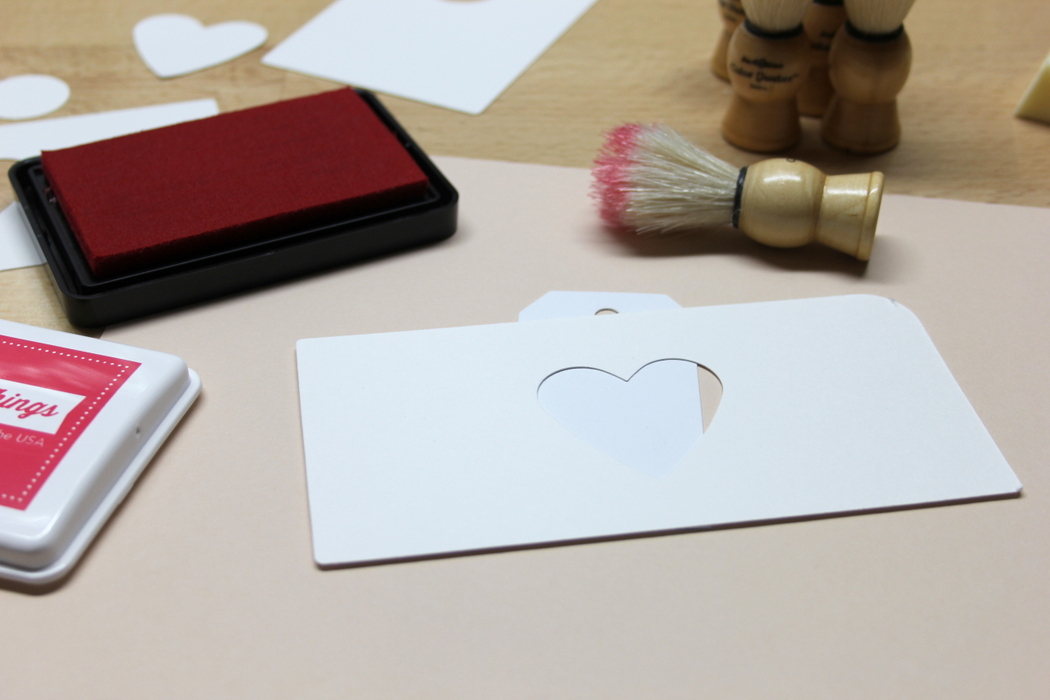
Time for some fun...! Take your stipple brush or cosmetic wedge and load it up with plenty of ink by "dabbing" the tool (stipple brush or cosmetic wedge) on the ink pad several times. Hold your stencil in place with one hand and with the other hand you will take your tool and apply color to the opening of your stencil...in this case, the heart that I created. You may need to ink up your tool several times to get the color that you are wanting!

To finish off the tag I added some sketch alpha stickers and a cork arrow...

You can add ribbon to this tag and put it on a gift or........you can add it to your planner like I did :)

Besides making tags, you could create some awesome backgrounds on cards and scrapbook layouts using this technique!
Have fun creating this weekend...
Candi
xo
This was very informative post. I got to learn so much from this. Please post more posts like these. I loved your blog. Add videos as well, this will increase your audience.
ReplyDelete